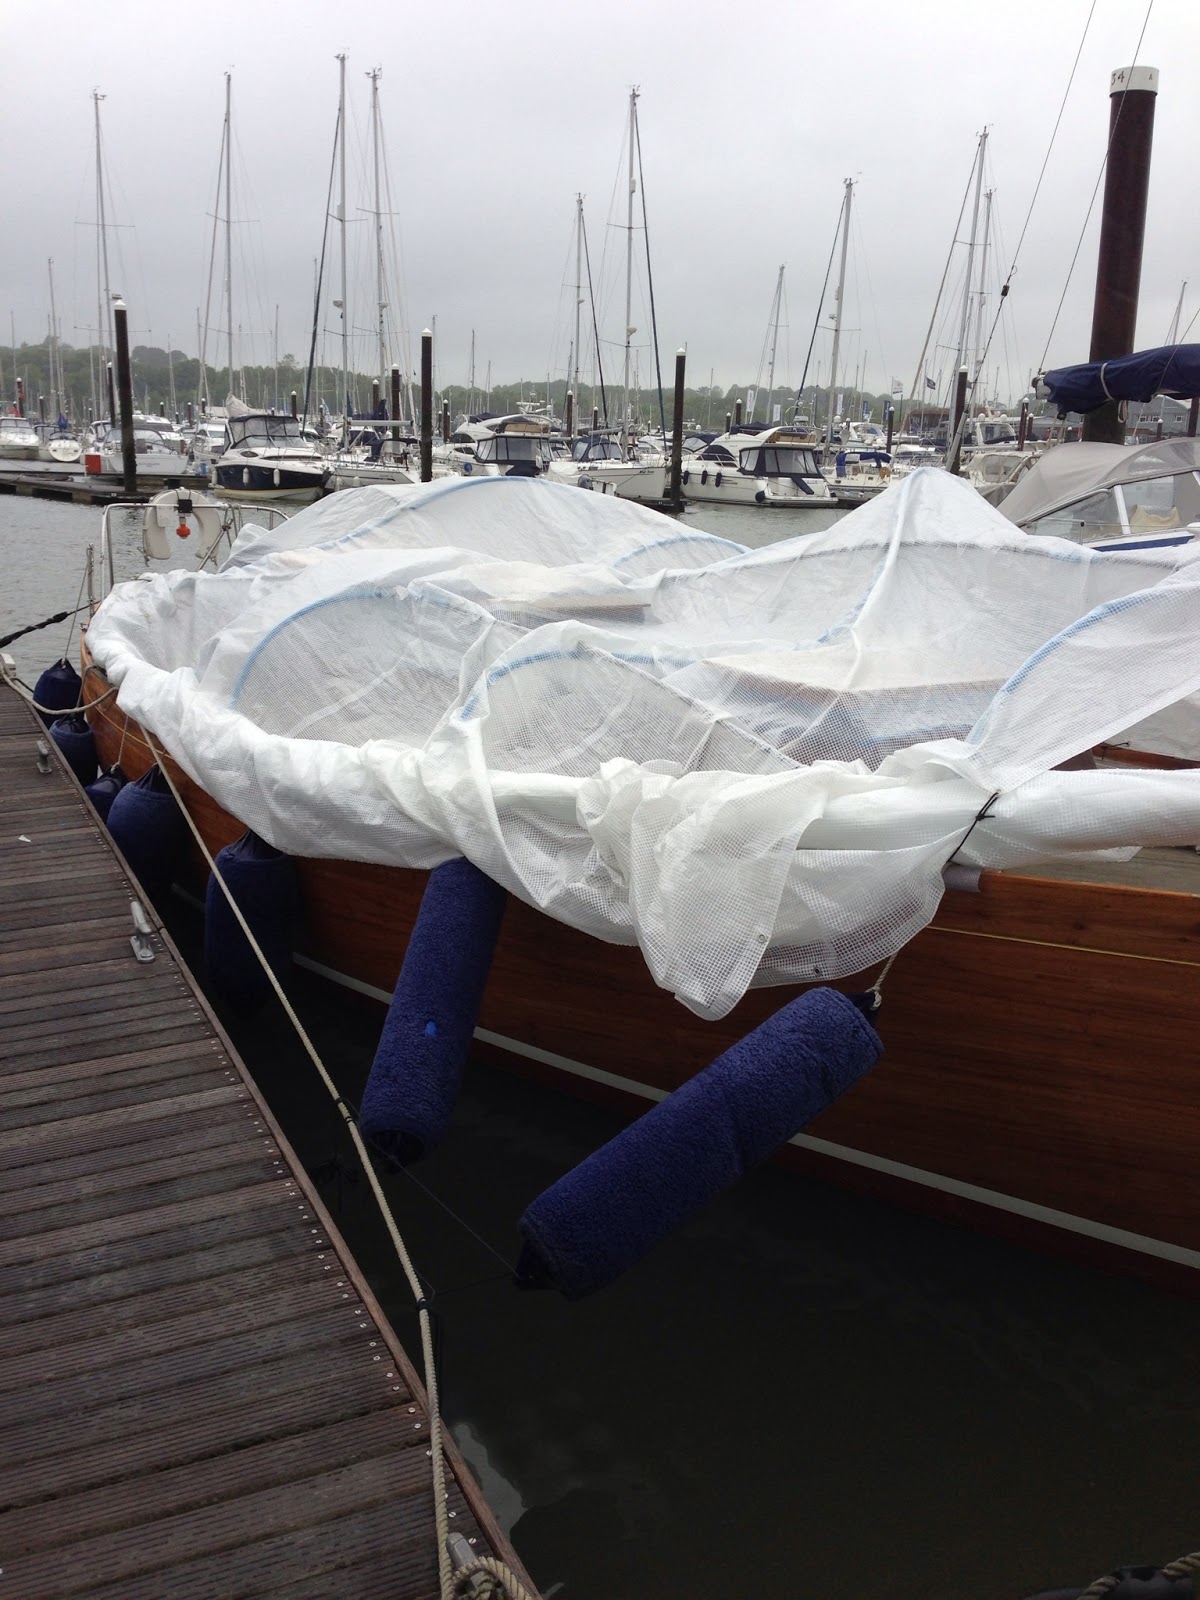
Four months of hard work, hundreds of decisions, attention to the smallest details, and one huge gamble.
Three weeks before work was due to start on Marelle, Graham Collingwood told us he was not willing to rent his tent to us after all - having agreed the rental back in April - as he had a regular customer he wanted to book in first. We couldn't slip our dates as we had Mike Moody and Tim from Centreline Marine already booked to start work, so we had a big problem.
Fortunately, BD Marine in Shamrock Quay saved the day, and we lifted out and into their tent at the start of September. Given the scale of the work we were about to undertake, we could have done without this extra stress!


 The gamble was in how we planned to redo Marelle's deck. She originally had a plywood sub deck, with a 7/16" teak deck on top, glued, screwed and secret nailed every 4". Over the years, the teak had worn to the extent that the caulking was coming away, and in several places there were voids between the teak and the ply - the deck was leaking water in to the cabin and the sub deck was deteriorating. Something had to be done, but replacement of the deck with a new teak deck would have been a huge amount of work - the sub deck would have had to be removed, affecting the beam shelf and covering boards.
  We decided instead to leave the current deck in place, stabilise the teak layer, replacing loose planks and injecting voids with epoxy, and put Flexiteek on top. Flexiteek is a synthetic (plastic) material, manufactured to look like teak but without the maintenance problems a teak deck has. We had agonised over this decision for almost a year, canvassing opinion at the 2013 classic regatta (a 50-50 split between "go for it, it's your boat" and "you must be kidding, you have got to put a new teak deck on").
 To make absolutely sure we got a good bond between the Flexiteek and the teak deck, we used Eposeal on the teak as recommended by Rob Tilney from AMD. The Flexiteek was then glued down with SABATack 750XL.
We chose the "weathered" Flexiteek for the main deck, and the "teak" Flexiteek for the king plank and coachroof edge. We also made AMD's job more difficult by specifying a wider plank width than standard - 60mm rather than the 45mm they normally use.
Every deck fitting that is through bolted had hard packing material hot welded to the regular Flexiteek deck, as the normal deck can deform under pressure.
Finally, to get a doubly watertight edge, the edge of the Flexiteek was rebated and the covering boards varnished to this undercut, then the caulking applied around the edge.
It will be very interesting to see people's reactions at the 2014 classic regatta!
 The deck work meant we could finally address the toe rail damage caused by the neighbouring boat when we were moored at Deacons marina. Mike Moody did a superb job on this, curving the replacement teak skilfully to fit.
 We also got BD Marine to make us some reinforcement for the aft corners, in the form of stainless steel corners with roller fair leads built in. These have turned out really well, and look great alongside the newly polished back stay fitting. Hopefully the corners look a bit more substantial now, and will put off any other boats thinking of using Marelle as a fender.
 The transom and toe rail were then professionally varnished by Ady Murray, in challenging temperatures. Not ideal to be varnishing in December, even if it's inside a tent!
  While on the aft deck, we decided to put in an extra centre cleat, and BD Marine polished and welded the spinnaker fittings, and polished the back stay fitting and cleats.
 To help with mooring up, we put mid ships cleats in too. We decided to go with solid bronze cleats for these, rather than Clyde cleats, as they may need to take a lot of strain in an emergency, if we need to use them to stop the boat.
Ady also varnished the coachroof sides, and we got Hampshire Electroplating to re-chrome all the windows and the bronze tracks.


 We hadn't originally planned to do anything with the bow fitting, despite it looking quite shabby - rough welding and tarnished steel. However Mike got carried away and removed it, so we got BD Marine to have a look at it, thinking we'd need a new one made. Andy suggested that they could tidy up the existing fitting, and it now looks great. It always feels better to restore original fittings where possible, even though it can mean more work than replacing them. We thought long and hard about modifying the bow rollers too, to make launching and retrieving the shiny new Ultra anchor easier, but could not decide in the end and so fitted the original rollers back on.


 The Ultra anchor is 316L stainless steel, and we got the matching swivel and 20 metres of duplex 1.4462 stainless chain from Cromox to go with it. All in all, with removing the windlass as well, we have lost a lot of weight from Marelle's bow. The original plan was to put a new horizontal windlass on the coachroof, but we ran out of time, and money, and settled for just the chain stoppers on the fore deck. Ultimately we want to be able to deploy two anchors on chain rodes if necessary. We currently have the anchor on a temporary base on deck, while Martin decides where it should be stored.
 Mike made new teak bars for all our Clyde cleats. Looking at old photos of Marelle that Stephen sent us, she used to have an extra cleat on the centre line on the fore deck, but we have not reinstated that for the moment.
Right at the last minute Mike and Tim managed to fit in installing our new navigation lights, which look quite smart and not at all as huge as they looked off the boat. Now I just have to wire them in.

 With the saving we made on our alternative deck installation, we got Mike and Tim to redo Marelle's galley and bow cabin. We have changed the cooker to a Taylor's paraffin cooker, which is what Marelle originally had, and since this cooker was about an inch wider than the previous gas cooker, it prompted a whole galley replacement! It's actually quite amazing how much bigger the galley seems now, and we have fitted in a lovely shiny double sink from Penguin Engineering, as well as a mixer tap with extending hose, and a traditional style tap for salt water. We used Hanex for the work surface - I chose a black colour (pearl black) with small shiny bits, to match the cooker top. I also got an Isotherm ASU SP 3251 fridge, with a fitting that goes on the sink drain to make the cooling more efficient. Mike fitted the skin fitting, but we ran out of time to put the rest of the fridge in place. We did manage to design, and get BD Marine to make the stainless steel fridge box, which we are going to install where the chart table currently is. I have got some high tech insulation to use - Spacetherm - which has an insulation rating of R30 at only 4" depth. Just have to figure out what glue to use to stick it to the stainless fridge box, and to the foil vapour barrier, then we'll be ready for it to go in the boat. Oh and find the compressor bracket, which I have mislaid during the move out of the shed.
 A big goal in this refit was to make the bow cabin into a double berth. Previously it contained a single berth that we did not use, and a lot of rope and sail stowage, as well as the anchor chain and rope rode. Paul, who works with Ady Murray, did a superb job of cleaning up, sanding and varnishing and painting the bow cabin, including the bronze floors. When he had finished it looked fabulous, all the better as we had Mike remove the partitions so there is an uninterrupted view right up to the fore peak. It would have been good to have a fixed double berth, but with the doorway central we just didn't have the room, so have had to go with a removable insert. The joinery Mike and Tim have done is beautiful, and looks even better with Ady's varnishing (Epifanes wood finish matte). They also made up some new teak cabin sole for us.
To finish off the bow and galley, I have got new LED lights from Calibra Marine. The lights are made by Prebit, except for some Cabin LED strip lights for inside the galley cupboards, and in the engine bay. They look gorgeous and are good quality, and a lot of them do red light as well as white, and dim. I am fitting the lights at the moment, and in the process re wiring the whole boat. There is an incredible amount of old wiring on Marelle, that I am removing - I am sure some of it must date back to 1965. Martin wanted the wiring run through clear plastic piping, rather than in conduits, so that any problems are visible. I have gone up a size from what is strictly required in terms of wire size, just to make absolutely sure we will have no voltage drop, so I am using 14AWG tinned wire (2.5mm) for everything. We want to replace the fused switch panel at some stage with a circuit breaker panel, but can only find panels from Blue Sea or BEP and both are stupidly expensive, so at the moment I am sticking with the existing panel. One of our challenges when we have the fridge and the Fusion stereo both installed, will be to put in extra battery power, and a solar panel, CTEK D250S and Smartpass to keep the batteries charged. The main issue with that is finding an appropriate place to put the batteries - currently they are below the cockpit sole, which is not ideal. Possibly a good place would be below the starboard quarter berth.


While we were doing all this work on the boat, I got Spencer Rigging to fit an Andersen 40 full stainless winch to replace the old spinnaker winch, and an Andersen 18 for the reefing winch. We now have a full complement of Andersens!
Spencer Rigging also raised the Lopolight LED masthead tricolour for us, so Martin can see the light from the deck, and ran a new wire through the mast for it. We have yet to install the through deck fitting for the mast wiring, but at least we are one step closer to having the tricolour working.

Martin installed a Whale super sub automatic bilge pump before Marelle's launch, which took some of the worry away - it's still such a nerve-wracking time. She still had a trickle from the seam near the engine water inlet sea cock, like at her previous launch, but it was not as bad, and the bilge pump coped easily with it. Everything sealed up within a few hours, and we had a smooth journey back to our marina, in a small weather window between horrendous storms and spring tides. We got back to the marina to find the car park flooded, and had to move Martin's car really quickly - surreal to walk downhill from the pontoon to the shore and then wade through foot-deep water to the car!
We still have to figure out the paraffin piping for the cooker and heater, and install the plumbing for the sink and taps, as well as order the bow cabin cushions and finish the re wiring. I also have the stereo and speakers to install. A lot to do, but the finishing line finally looks in sight, and this year we will be able to go sailing on Marelle. We are planning to do the Cowes classic regatta, and the new Dartmouth regatta in June, and weather permitting, lots of Solent sailing weekends.